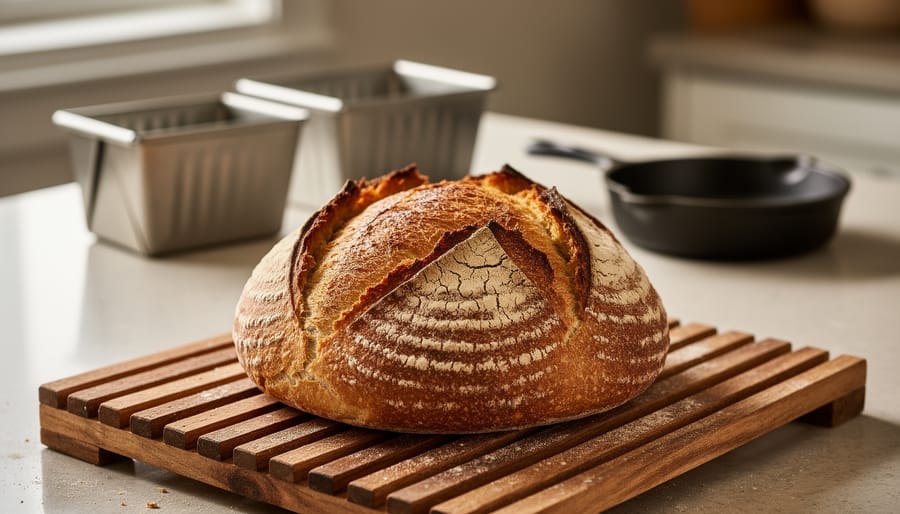
You can bake exceptional sourdough bread without a Dutch oven using two identical loaf pans, a cast iron skillet, or even CorningWare bakeware. The secret lies in creating your own steam chamber: simply invert a second pan over your loaf during the initial bake at 450°F, then remove the cover for the last 10-20 minutes to achieve that signature golden crust. This method works because the trapped moisture mimics the enclosed environment of a Dutch oven, allowing your dough to expand fully before the crust sets.
For Canadian home bakers committed to reducing waste and avoiding expensive specialty cookware, this approach opens up sourdough baking using tools you likely already own. The principle is straightforward: steam during the first phase of baking gives your loaf the oven spring it needs, while the uncovered finish creates the crispy, crackly exterior that makes sourdough so irresistible. You don’t need fancy equipment to make crusty, artisan-quality bread at home.
Whether you’re working with a tight kitchen budget, limited storage space, or simply prefer multipurpose tools, these alternatives deliver professional results. This guide walks you through the complete process, from choosing your baking vessel to timing your steam release, so you can bake beautiful sourdough loaves starting today.
Why You Don’t Need a Dutch Oven for Great Sourdough
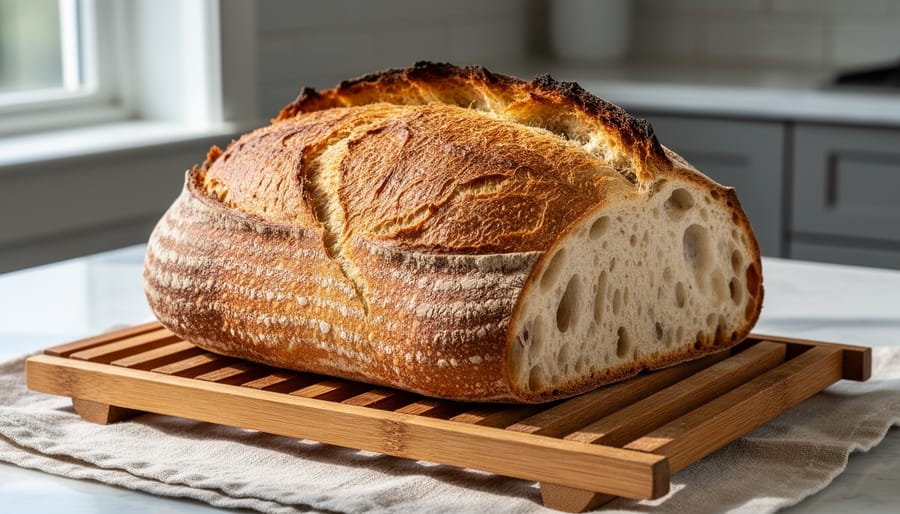
A Dutch oven isn’t magic, it’s just a simple tool that traps steam during the first phase of baking. That steam keeps the outer layer of your dough moist and flexible, allowing the bread to expand fully (what bakers call “oven spring”) before the crust sets. Once the bread has risen, the moisture evaporates and the crust develops its signature golden colour and crackly texture.
The good news? You don’t need a $200 piece of cast iron collecting dust in your cupboard to achieve this. Any heat-safe covered container, from a pair of loaf pans to an old casserole dish, can create the same steamy environment. The principle remains identical regardless of what vessel you choose.
This approach aligns perfectly with making sustainable baking accessible to everyone. Too many Canadians believe they need expensive specialty equipment to bake quality bread at home, which creates an unnecessary barrier to reducing food waste and enjoying fresh, homemade sourdough. When you realize that items you already own can produce the same crusty, airy loaves, home baking becomes far more approachable. You’re not just saving money on equipment that might sit unused, you’re opening the door to baking your own bread regularly, reducing reliance on store-bought loaves and their packaging waste.
The method works because physics doesn’t care about brand names or price tags. Steam is steam, and heat is heat. What matters is understanding the function, not owning the trendiest tool.
What You’ll Need: Tools and Substitutes
Creating Steam Without a Lid
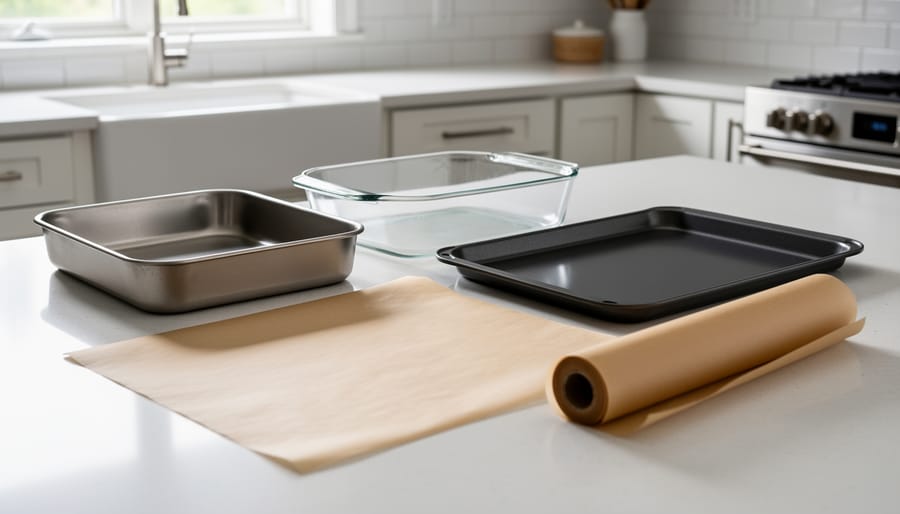
If you don’t have any covered bakeware at all, you can still create the steam environment sourdough needs. The simplest method is to flip a large roasting pan upside down over your loaf, using it as a makeshift lid. Place your dough on a regular baking sheet or in an uncovered loaf pan, then carefully position the roasting pan over top before sliding everything into your preheated 450°F oven. A large metal mixing bowl works the same way, just make sure whatever you use is oven-safe and has enough headroom for your dough to rise.
Another effective approach is the water pan method. Place an empty metal baking pan on the bottom rack of your oven while it preheats. When you’re ready to bake, carefully pour a cup of hot water into the preheated pan (stand back to avoid the steam), then quickly place your loaf on the middle rack and close the oven door. The water creates a steamy environment that mimics what a Dutch oven does naturally. You can combine this with a loose tent of aluminum foil over your loaf for the first half of baking if you want extra moisture retention.
Both methods achieve the same goal: trapping humidity around your dough during the critical first phase of baking, which allows the bread to expand fully before the crust sets.
Safety and Setup Considerations
Before you preheat your oven, take five minutes to verify your bakeware can handle the heat. Most sourdough recipes bake at 450°F, and not all pots, pans, or lids are rated for that temperature.
Cast iron and most stainless steel handles the heat beautifully, but some non-stick coatings break down above 400°F. CorningWare and enameled cast iron typically work well, though you’ll want to confirm the specific product line.
Thermal shock is your other concern. Moving a cold vessel into a screaming-hot oven can crack it, especially with certain ceramics and tempered glass. Preheat your baking dish along with the oven whenever possible, or let it come to room temperature first if you’re adding dough before heating.
Keep heavy-duty oven mitts within reach throughout the baking process. You’ll be removing hot lids mid-bake, and a 450°F pan can cause serious burns in the split second it takes to fumble. Silicone mitts rated for high heat give you better grip than cloth versions.
Finally, crack a window or turn on your exhaust fan. High-heat baking releases moisture and sometimes a bit of smoke, particularly if flour dusts the outside of your loaf. Good airflow keeps your kitchen comfortable and your smoke alarm quiet.
Step-by-Step: Baking Sourdough Without a Dutch Oven
Getting Good Oven Spring Without a Dutch Oven
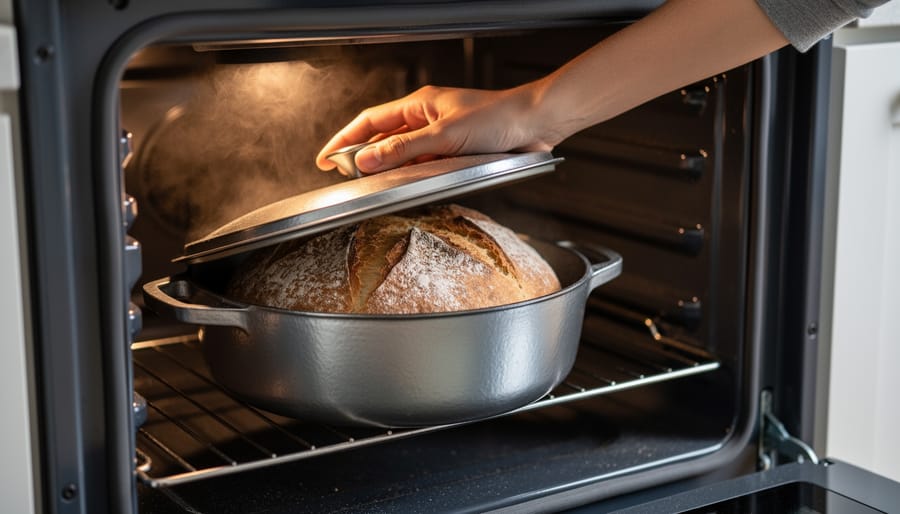
Steam is your biggest ally in the first 20 minutes of baking. When your dough hits that 450°F oven, the moisture trapped inside your covered vessel turns to steam, keeping the surface soft enough to expand dramatically. This is when you get that beautiful rise, or oven spring, that makes sourdough so impressive. Without proper steam, the crust sets too quickly and limits how much your loaf can grow.
Your makeshift cover, whether it’s an inverted loaf pan, a roasting pan, or a heat-safe bowl, creates the same steamy environment as a Dutch oven. The key is keeping that moisture locked in during the critical first phase. Don’t peek or lift the cover during this time. Every bit of escaped steam means less rise and a tighter crumb.
After 20 minutes, remove the cover to let excess moisture escape. This shift from steam to dry heat is what transforms your pale loaf into a golden-brown masterpiece with that satisfying crackly crust. The oven temperature for spring matters here. Keep it at 450°F throughout the bake. Lower temperatures won’t give you the same dramatic rise or crust development.
If your substitute vessel doesn’t seal perfectly, add a small pan of water on the bottom oven rack during preheating. This extra humidity compensates for any steam leakage. These simple baking tips work with whatever you have on hand, proving you don’t need specialty equipment to achieve professional results.
How to Tell When Your Bread Is Done
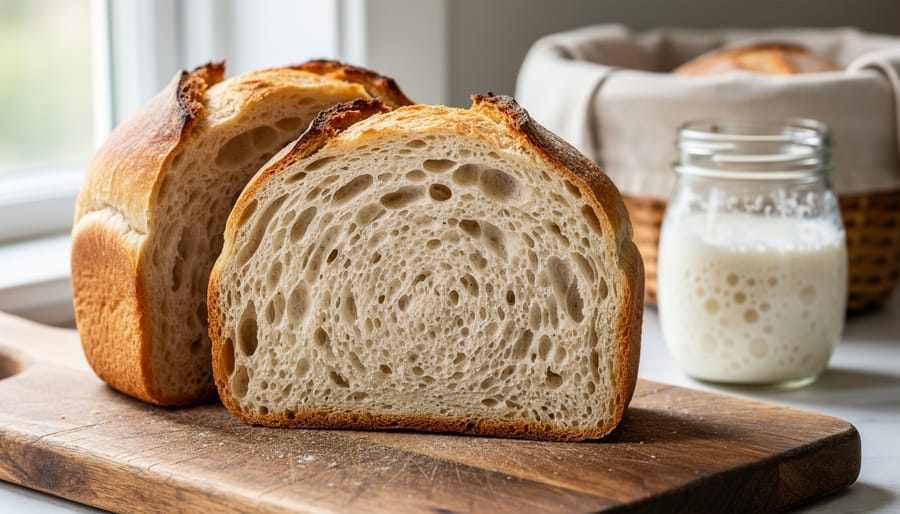
Knowing when your sourdough is finished baking takes a bit of practice, but there are reliable signs that work whether you’re using a Dutch oven or everyday cookware. The most obvious cue is color: your loaf should be deeply golden-brown all over, not pale or blonde. A properly baked crust will look almost caramelized, with darker spots where the dough expanded during baking.
The hollow-sound test is your next checkpoint. Carefully tip the loaf out of its pan (use oven mitts, it’ll be hot) and tap the bottom with your knuckles. You’re listening for a hollow, drum-like sound. If it sounds dense or dull, the interior likely needs more time. This test works because fully baked bread has lost enough moisture that the crumb structure resonates when tapped.
For absolute certainty, use an instant-read thermometer inserted into the center of the loaf. You’re aiming for an internal temperature between 205 and 210°F. Anything below 200°F means the crumb is still too wet and needs another five to ten minutes in the oven.
If your crust looks pale after the full baking time, you might not have removed the cover early enough or your oven temperature dropped. Next time, uncover the loaf with 15 to 20 minutes remaining to allow proper browning. A gummy or overly moist interior usually means the bread was pulled too soon, trust the thermometer over timing alone, since every oven behaves differently.
Reducing Waste: Making the Most of Every Loaf
Baking sourdough without specialized equipment isn’t just about accessibility, it’s about making the most of what you have and reducing waste at every step. Understanding how food waste harms our environment makes every loaf count, even the ones that don’t turn out picture-perfect.
When your bread goes stale, don’t toss it. Revive day-old sourdough by spritzing the crust with water and warming it in a 350°F oven for 10 minutes. For older bread, transform heels and crusts into coarse breadcrumbs by pulsing them in a food processor, they’ll keep in the freezer for months and add texture to everything from meatballs to casserole toppings.
Here are simple ways to save food from wasting with less-than-ideal loaves:
- Cube dense or gummy bread for croutons, French toast, or bread pudding
- Blend stale sourdough into breadcrumbs for coating chicken or fish
- Soak tough crusts in soups and stews to add body and flavour
- Turn flat loaves into panzanella salad or stuffing base
Even a collapsed loaf has value. Dense sourdough makes exceptional breadcrumbs with more flavour than store-bought versions, and you’ll use food scraps that would otherwise end up in the compost. Every bit of your homemade bread represents time, ingredients, and effort, making the most of it saves money and respects the resources that went into creating it.
Common Questions About Dutch Oven-Free Sourdough
Can I really get a crispy crust without a Dutch oven?
Yes. A crispy crust comes from steam in the first part of baking and dry heat at the end. Any covered vessel that traps steam initially and allows you to uncover the loaf for the last 10-20 minutes will produce that signature crunch.
What if I don’t have a lid that fits my pan?
You have options. Use another identical pan flipped upside down as a lid, cover with a metal bowl, or place a roasting pan over your loaf. Even a large oven-safe pot turned upside down works as long as it traps steam around the dough.
Do I need parchment paper?
Not necessarily. While parchment makes transferring dough easier, you can oil your pan well or dust it with cornmeal instead. The key is preventing sticking without requiring specialty paper.
Will the texture be the same as Dutch oven sourdough?
When you maintain the same temperature (around 450°F) and steam environment, the interior crumb and overall texture will be nearly identical. The crust might vary slightly depending on your vessel’s heat retention, but it will still be delicious and properly baked.
The beauty of alternative methods is their flexibility. Two identical loaf pans work brilliantly because one acts as a perfect-fitting lid for the other. Cast iron pans and CorningWare both retain heat well and create excellent results. What matters most is that your setup can hold steam for the first phase of baking and then release it so the crust can develop color and crispness. Don’t worry about achieving perfection on your first attempt. Each oven behaves differently, and you’ll quickly learn how your particular setup performs.
Great sourdough doesn’t require a Dutch oven or a hefty investment in specialty equipment. You’ve got everything you need already sitting in your kitchen. Whether you’re using two loaf pans, a cast iron skillet, or a simple roasting pan with a makeshift lid, you can achieve that gorgeous crust and satisfying oven spring that makes homemade sourdough so rewarding.
This approach fits perfectly with sustainable baking. When we make do with what we have instead of buying more gear, we reduce waste and keep baking accessible to everyone across Canadian households. Your first loaf might not be Instagram-perfect, and that’s completely fine. Even imperfect bread feeds your family, saves money, and keeps good food out of the bin.
We’d love to hear what worked for you. Did you discover a creative substitute we haven’t covered? Share your experience and help make sourdough baking even more inclusive for home cooks everywhere.