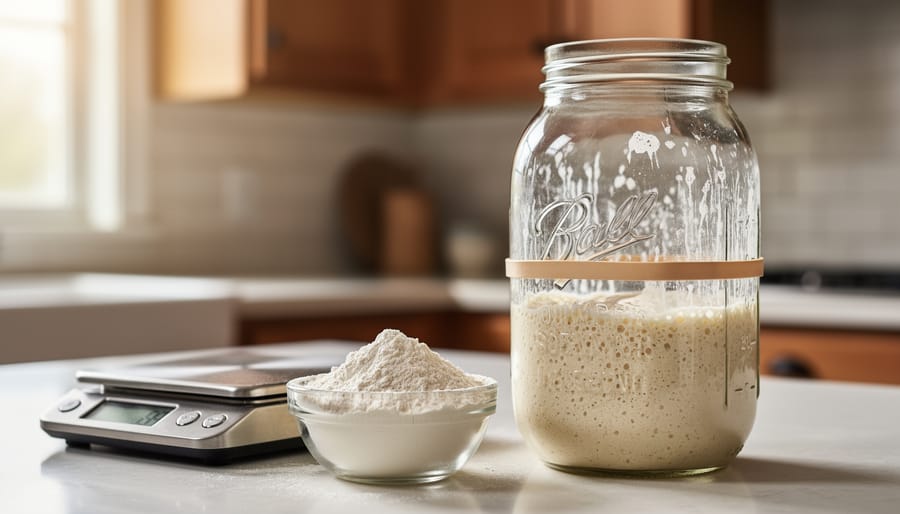
To feed a sourdough starter, discard most of it, then stir in fresh flour and water by weight. For regular baking, use a 1:1:1 ratio (equal parts starter, flour, and water). If you bake less often, 1:4:4 works beautifully and gives a milder but still tangy flavour. At room temperature, an active starter needs a feeding every 12 to 24 hours. Tucked in the fridge, it can go a week or more between meals.
That’s the whole routine, and it takes about five minutes. The only real rule is to measure with a kitchen scale, since ratios are based on weight, not volume. A 1:4:4 feeding is usually ready to use in roughly 6 to 8 hours, depending on how warm your kitchen is.
Here’s the good news for your wallet and the planet: you don’t need to feed big. If you feed daily or every second day, 20 to 30 grams of starter is plenty, and even 5 to 10 grams works. Smaller feedings mean less flour tossed out, and the discard can go straight into pancakes or crackers. Pair this guide with a few baking tips and you’ll keep your starter lively without wasting a scoop.
What You’ll Need Before You Start Feeding Your Starter
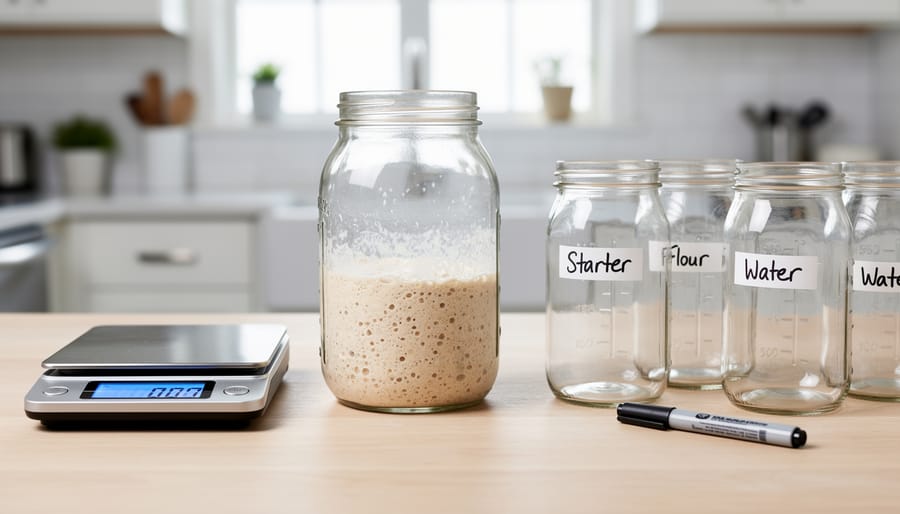
Good news: feeding sourdough starter doesn’t call for a trip to the store. Most of what you need is probably already in your kitchen, and that’s a small win when you’re trying to save food and money at the same time.
Here’s your simple checklist:
- A kitchen scale, because feeding ratios go by weight, not volume.
- A clean jar with plenty of room for the starter to grow.
- A spatula or spoon for mixing.
- Flour, whichever kind you normally use for your starter.
- Water at a comfortable room temperature.
- A rubber band or piece of tape to mark the starter’s level and track its rise.
The scale is the one tool worth a second look. Bakers talk about a “feeding ratio” (sometimes called a seed ratio), which is the proportion of starter, flour, and water, and it’s measured in grams. Cups and spoons can vary a lot, so weighing keeps things consistent and helps you avoid using more flour than you need.
Once everything’s within reach, you’re ready to pick a ratio that suits your baking schedule.
Choosing a Feeding Ratio That Fits Your Baking Schedule
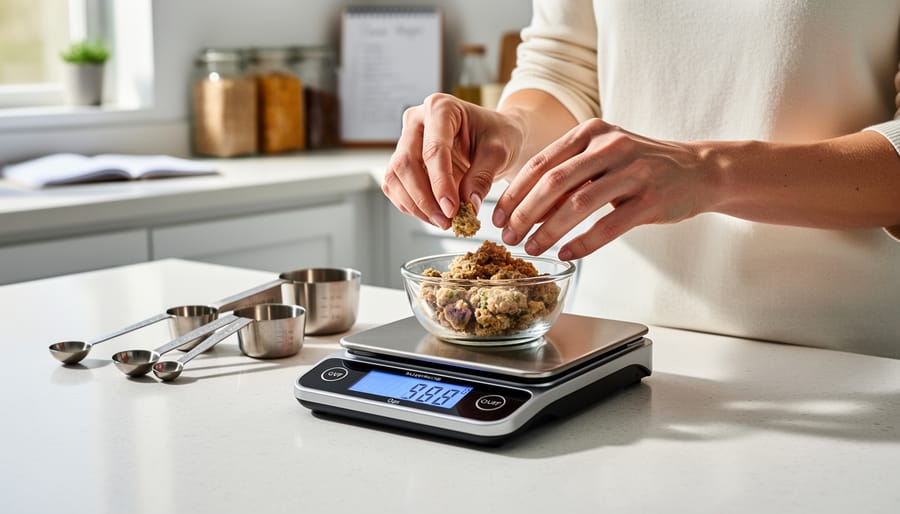
A feeding ratio (some bakers call it the seed ratio) is simply the proportion of starter, flour, and water you mix together, measured by weight rather than volume. That’s why a kitchen scale earns its spot on the counter.
Here’s how to read it. A 1:1:1 ratio means equal parts starter, flour, and water. So 20g of starter gets 20g of flour and 20g of water. A 1:4:4 ratio means for every 1 part of starter, you add 4 parts flour and 4 parts water. Take that same 20g of starter and you’d add 80g of flour and 80g of water.
So which one should you pick? It comes down to how often you bake.
– 1:1:1 suits frequent baking, when you’re feeding your starter often and want it ready to go again soon.
– 1:4:4 suits less frequent baking, since the extra food gives your starter more to work through before it needs attention.
The 1:4:4 ratio also tends to give a nice balance of flavour: mild, but still tangy. At this ratio, your starter is usually ready to use in about 6-8 hours, depending on how warm your kitchen is. A cosy room speeds it up, and a cool one slows it down.
Here’s the part that surprises many beginners: you don’t need much starter to begin with. Around 20-30g is plenty. If you’re feeding every day or every second day, you can go as low as 5-10g.
That small amount is where the waste reduction happens. A smaller starter means smaller feedings, which means less flour going into the jar and far less discard to deal with afterwards. Instead of building up a big batch you’ll never use, you keep only what your baking schedule actually needs. It’s an easy way to save flour, save money, and keep the whole routine feeling manageable.
Room Temperature or Fridge? Picking a Feeding Routine
There are two ways to keep a starter going, and the right one comes down to how often you bake.
If you bake a few times a week, keep your starter on the counter. At room temperature, an active starter usually needs feeding every 12 to 24 hours. That’s a steady little routine, and it keeps your starter bubbly and ready whenever you want to mix a dough. The trade-off is that you’ll be using flour more often, so a small starter and a small feeding go a long way toward keeping waste down.
If you bake once a week or less, the fridge is your friend. A starter stored cold can go a week or more between feedings, which means far less flour, far less discard, and far less fuss. Just give it a feed and a bit of time on the counter before you plan to bake so it can wake up properly.
Your kitchen matters too. A warm room speeds everything up, so your starter may be hungry and ready sooner than you expect. A cool room slows things down, and it takes longer to rise. Many Canadian kitchens run cooler through the winter, so don’t be surprised if your starter seems a bit sleepy in January. It isn’t broken, it just needs more time.
Not sure which to pick? Start with the fridge routine if baking is an occasional thing, and move to the counter when you’re ready to bake more often.
How to Feed Sourdough Starter, Step by Step
Feeding your starter is a simple routine, and once you’ve done it a few times it takes about two minutes. Here’s the process from start to finish.
- Choose your ratio. Pick 1:1:1 if you bake often, or 1:4:4 if you bake less frequently. Remember, these numbers are by weight, not volume.
- Decide where the starter will live. Leave it on the counter if you’re baking regularly, or plan to tuck it in the fridge if you’re not.
- Weigh a small amount of starter into a clean jar. Twenty to 30 grams is plenty, and even 5 to 10 grams works if you feed daily or every second day.
- Add the flour and water. Multiply your starter weight by the ratio. For example, 10 grams of starter at 1:4:4 gets 40 grams of flour and 40 grams of water.
- Stir until no dry flour remains. Scrape down the sides of the jar so everything is mixed in.
- Mark the level. Slip a rubber band around the jar or stick a piece of tape at the top of the mixture, so you can see how much it rises.
- Cover loosely. A lid set on top without tightening, or a clean cloth, lets gas escape.
- Wait. At a 1:4:4 ratio, your starter should be ready to use in about 6 to 8 hours, though that depends on how warm your kitchen is.
Timing is where you get to adjust things to your own home. A warm kitchen speeds up the rise, while a cooler one slows it down, so don’t be surprised if your starter takes longer in the middle of a Canadian winter. If you keep it on the counter, expect to feed it every 12 to 24 hours. If it lives in the fridge, it can go a week or more between feedings.
Don’t worry if your first couple of feedings feel fiddly. Weighing, mixing and watching the jar becomes second nature fast, and because you’re using such small amounts, a slip-up costs you very little flour.
Avoid These Common Feeding Slip-Ups
Most feeding mishaps are easy to dodge, and none of them mean you’ve ruined your starter. Start with clean jars and utensils. A quick wash with hot, soapy water before you refresh your starter keeps unwanted bacteria out of the mix, and it’s one of the simplest habits to build.
Next, go easy on the lid. Starter gives off gas as it ferments, and a tightly sealed jar can trap it. Rest the lid on loosely, or use a cloth or a jar lid that isn’t screwed down, so the gas can escape.
Then there’s the odd-looking liquid. If you spot a layer of greyish liquid on top, don’t panic. It’s usually just a sign your starter is hungry, and you can stir it back in or pour it off before feeding. It’s a handy cue to feed a little sooner next time.
A good rule of thumb is that fuzz and bright colours mean stop, while grey liquid just means feed. And since smaller feedings mean less flour going to waste, you can keep your starter lean and still use sourdough discard in other recipes instead of tossing it.
How to Tell Your Starter Is Fed, Active, and Ready to Bake
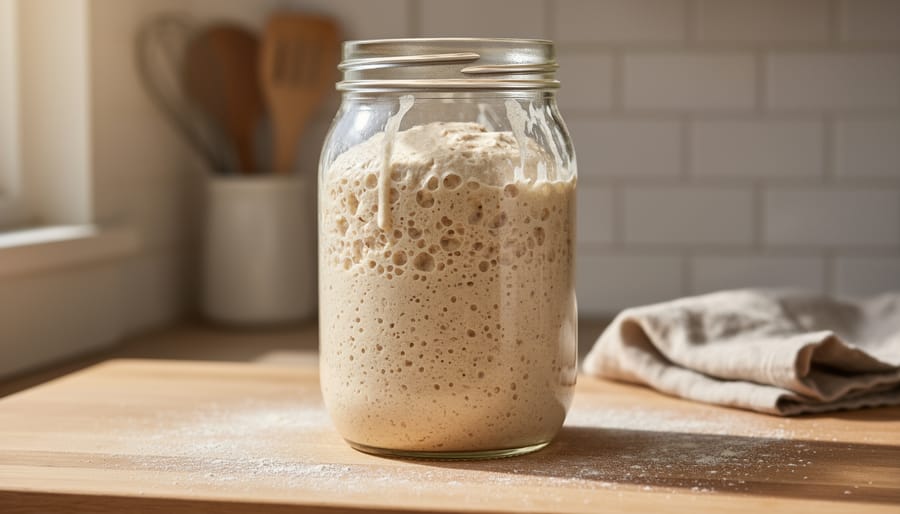
A starter that’s ready to use shows you with three clear signs. First, check the rubber band or tape you put on the jar: the starter should have climbed noticeably above that mark. Second, look for bubbles all the way through, not just a few on top. Peek at the side of the jar and you’ll often see a honeycomb of tiny pockets. Third, give it a sniff. You want a pleasant, tangy aroma, mild and slightly sour rather than sharp or harsh.
Timing depends on your ratio and your kitchen. At a 1:4:4 ratio, a starter is usually ready somewhere between 6 and 8 hours, and a cooler Canadian kitchen in January may take a little longer than a warm one in July. Don’t worry if yours runs on its own schedule. Watch the starter, not the clock.
Once it’s peaked, you have two easy options. If you’re ready to bake sourdough use it right away in your recipe. If not, pop the jar in the fridge until your next bake. And if you have extra starter, don’t toss it. It makes great pancakes, crackers, or flatbreads, which keeps good flour out of the bin.
Feeding Sourdough Starter: Your Questions Answered
How much starter should I keep?
Not much. 20-30g is plenty, and you can go as low as 5-10g if you feed daily or every second day. A smaller starter means less flour in every feeding.
How often should I feed it at room temperature versus in the fridge?
At room temperature, active starters usually need feeding every 12-24 hours. In the fridge, they can go a week or more between feedings.
What’s the best ratio for feeding sourdough starter?
It depends on your baking rhythm. Use 1:1:1 if you bake often, or 1:4:4 if you bake less frequently. Both are measured by weight, not volume.
How long until my starter is ready after feeding?
At a 1:4:4 ratio, expect roughly 6-8 hours, depending on how warm your kitchen is. A cool Canadian winter kitchen will usually take longer.
Do I have to discard starter every time?
Not if you keep your starter small. Feeding just 5-30g of starter means there’s very little to throw out. Any extra you do have can go into pancakes or crackers instead of the bin.
Still wondering about something that isn’t covered here? Start with one small change, like trimming your starter down to 20g, and see how your jar responds over a couple of feedings. Every starter behaves a little differently, and a quick note on what works in your kitchen will make the next feed easier.
Conclusion
Feeding sourdough starter really comes down to a few simple habits. Pick a ratio that matches how often you bake: 1:1:1 if you’re at it every day, 1:4:4 if you bake less often. Keep your starter small, even 20 to 30 grams is plenty, so you use less flour and have less discard. Then trust the signs: a good rise, plenty of bubbles, and a pleasant tangy smell.
This week, try feeding with a smaller amount of starter and see how it goes. Once you’ve got a rhythm, check out more of Food Back’s tips for cutting food waste at home. Your kitchen, and your flour bin, will thank you.