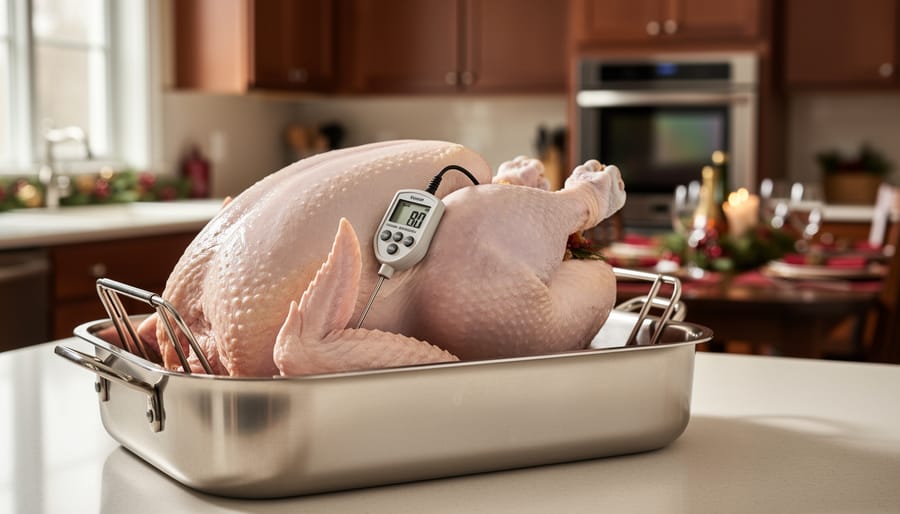
Cooking a turkey to perfection requires just two numbers: an oven temperature of 350°F and an internal temperature of 165°F measured at the thickest part of the thigh. Whether you’re preparing your first holiday bird or your fiftieth, getting those temperatures and times right means the difference between a juicy, golden centerpiece and a dry disappointment destined for the compost bin.
Every year, thousands of Canadian households overcook or undercook their turkeys, creating food waste that could easily be avoided with a reliable reference guide and a quality meat thermometer. The good news? Turkey isn’t difficult to cook well. It just demands precision. A 12-pound unstuffed bird needs roughly three to four hours at that steady 350°F, but guessing based on appearance alone is where things go wrong.
This guide gives you exactly what you need: a comprehensive time and temperature chart organized by turkey weight, clear instructions for checking doneness properly, and practical tips to ensure your bird comes out safe to eat and delicious every time. We’ll cover everything from choosing the right roasting pan to verifying that critical 165°F mark, so you can serve a meal worth celebrating and waste nothing in the process. Because when you nail the basics, you’re not just following a recipe. You’re respecting the food, the effort, and the gathering it brings together.
What You’ll Need to Cook Turkey Safely
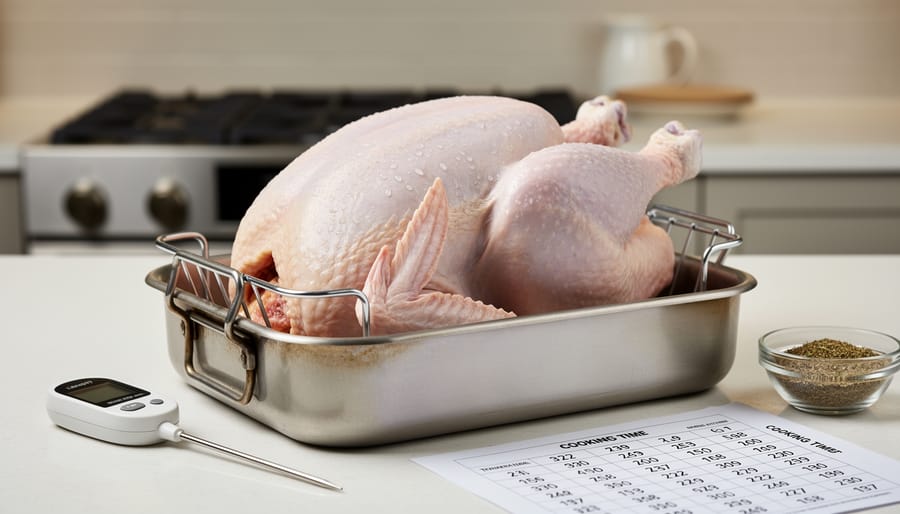
You can cook a perfect turkey with surprisingly few tools, but what you choose matters, especially the meat thermometer, which is your best defense against both undercooked poultry and an overcooked, dried-out bird destined for the compost bin. Getting the gear right from the start saves you stress and prevents waste.
Here’s what you’ll need:
- Meat thermometer (instant-read or probe style), non-negotiable for checking that 165°F internal temperature
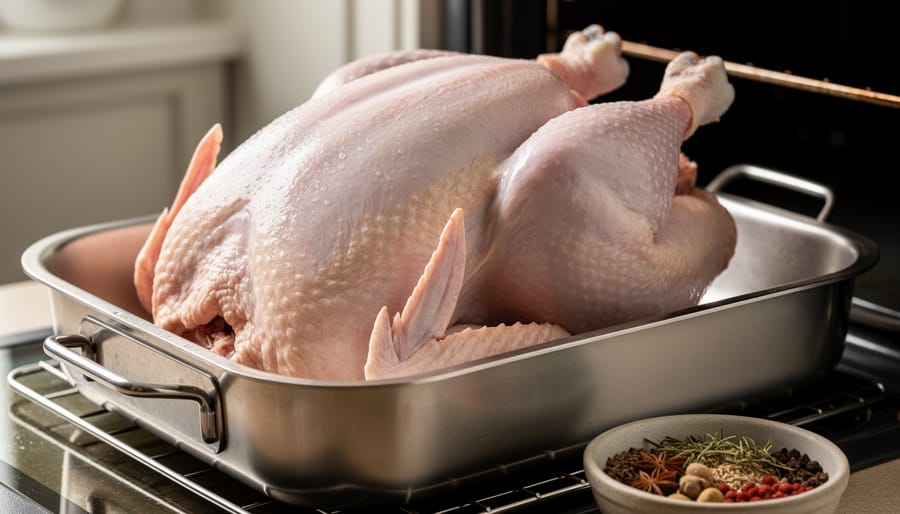
- Roasting pan with a rack to elevate the turkey and allow even heat circulation
- Aluminum foil for tenting the bird if it browns too quickly
- Basting brush or bulb baster (optional, but useful if you want to keep the skin moist)
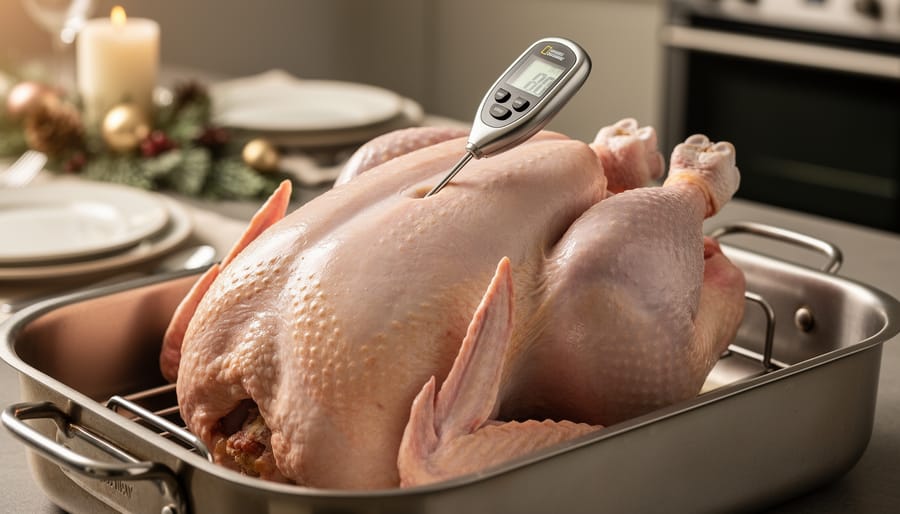
The thermometer is worth calling out separately. Visual cues like golden skin or clear juices aren’t reliable indicators of doneness, only temperature is. An instant-read thermometer gives you a quick check in the thickest part of the thigh, while a leave-in probe lets you monitor progress without opening the oven door repeatedly. Either works; just make sure you have one.
A sturdy roasting pan with a rack keeps the turkey off the bottom of the pan, so heat reaches all sides and you avoid soggy skin. If your pan doesn’t have a rack, you can improvise with a bed of chopped vegetables, carrots, celery, onions, which also add flavor to the drippings you’ll use later.
Aluminum foil is your backup plan. If the breast or wings start browning faster than the rest, a loose foil tent slows the process without stopping the cook. You’re not looking for specialty equipment here, just the basics done right.
Safety First: What You Need to Know Before You Start
Before you start cooking, understand that turkey demands precision because the stakes are high. Undercook it, and you risk serious foodborne illness from bacteria like salmonella. Overcook it, and you’ve turned an expensive centrepiece into dry, stringy meat that often ends up in the trash.
The single most important number to remember is 165°F. That’s the internal temperature your turkey must reach in the thickest part of the thigh, measured with a meat thermometer. No exceptions, no shortcuts.
Visual cues like golden skin or clear juices are unreliable indicators of doneness. A turkey can look beautifully browned on the outside while remaining dangerously undercooked inside. Conversely, you might overcook perfectly safe meat because you’re guessing rather than measuring.
If you’re working with a frozen turkey, plan ahead for safe thawing. Never leave it on the counter at room temperature. Between 40°F and 140°F is the danger zone where bacteria multiply rapidly, so keep your bird refrigerated until you’re ready to cook it.
Proper thawing takes time: allow roughly 24 hours of refrigerator thawing for every four to five pounds. Rushing this step creates uneven cooking and increases waste risk when parts of the turkey finish at different times.
Turkey Cooking Times and Temperatures: Your Complete Reference
The chart below provides proven cooking times for turkeys at 350°F oven temperature, organized by weight and whether the bird is stuffed or unstuffed. These times serve as your starting reference, but remember: the thermometer reading at 165°F in the thickest part of the thigh is what actually tells you the turkey is done.
Unstuffed Turkey:
– 4 to 6 pounds: 1½ to 2½ hours
– 6 to 8 pounds: 2½ to 3 hours
– 8 to 12 pounds: 3 to 4 hours
Stuffed Turkey:
– 4 to 6 pounds: 2½ to 3 hours
– 6 to 8 pounds: 3 to 3½ hours
– 8 to 12 pounds: Add approximately 30 to 45 minutes to the unstuffed time
Notice that stuffed turkeys take longer because the stuffing itself must reach a safe temperature. The denser mass in the cavity slows heat transfer to the innermost parts of the bird.
Use these time ranges to plan your meal schedule and estimate when to start cooking. If you want to calculate more precisely based on your turkey’s exact weight, the general cook time per pound can help you narrow the window further.
That said, ovens vary in accuracy. A 350°F setting in one oven might run hotter or cooler than another. Turkey shape, starting temperature, and how often you open the oven door all affect timing. This is why the clock alone can’t guarantee doneness.
Start checking the internal temperature about 30 minutes before the minimum time in your weight range. Insert the thermometer into the thickest part of the thigh without touching bone. When it reads 165°F, your turkey is safe and ready, regardless of whether the timer says so. This approach prevents both undercooked turkey that poses health risks and overcooked turkey that dries out and goes to waste.
Step-by-Step: How to Roast Your Turkey
Roasting a turkey doesn’t have to be complicated, and doing it right means you’ll serve a bird that’s juicy, safe to eat, and free from the kind of dryness or waste that comes from guesswork cooking.
Start by preheating your oven to 350°F. While it heats, pat your turkey dry with paper towels inside and out. This helps the skin crisp up. Place the bird breast-side up on a rack in a roasting pan. You can tuck the wing tips under the body and tie the legs together with kitchen twine if you’d like a tidier presentation, but it’s not essential for cooking success.
Brush the turkey with a light coating of oil or melted butter. This promotes even browning and keeps the skin from drying out. If you’re using herbs or seasonings, add them now. Slide the pan into the oven and set a timer based on your turkey’s weight, but remember that time is only a guide. For an 8 to 12 pound unstuffed turkey, you’re looking at 3 to 4 hours total cooking time at 350°F.
Once the turkey goes in, the roasting process unfolds in stages:
- Roast uncovered until the skin turns a light golden colour, usually about halfway through the estimated cooking time.
- Cover the turkey loosely with a foil tent to prevent overbrowning and keep moisture in. This protects the breast meat from drying out while the thicker thigh meat catches up.
- Remove the foil during the final 45 minutes to let the skin brown and crisp up beautifully.
- Check the internal temperature by inserting a meat thermometer into the thickest part of the thigh without touching bone.
- Confirm that the thermometer reads 165°F before removing the turkey from the oven.
Throughout the process, don’t open the oven door repeatedly to peek. Each time you do, you lose heat and extend cooking time, which can dry out the meat. Trust the timeline and your thermometer, not visual guesswork.
When the turkey reaches 165°F, pull it out and let it rest before carving. While it sits, collect the pan drippings for gravy or stock. These drippings are packed with flavour and represent a no-waste turkey roasting approach that stretches every bit of value from your bird.
How to Check If Your Turkey Is Done
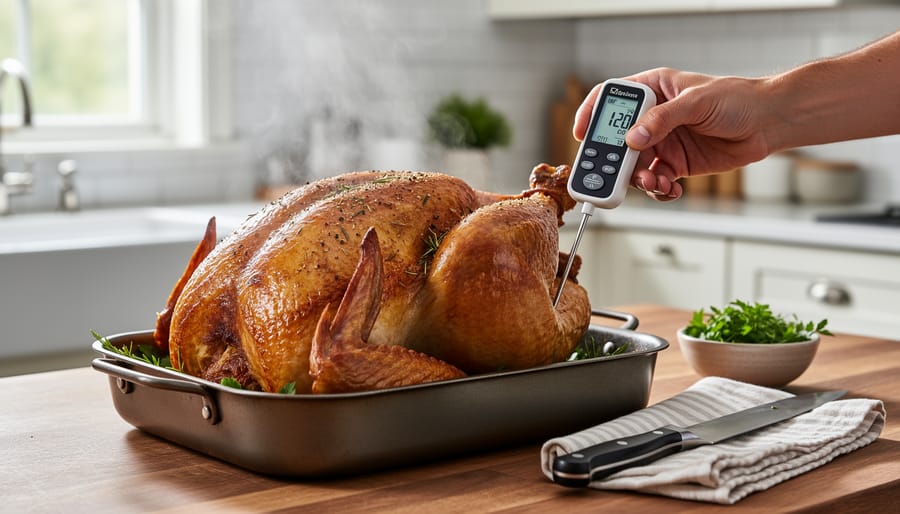
The difference between perfectly cooked turkey and a disappointing meal often comes down to accurate temperature checking. Your meat thermometer is the only truly reliable way to know when your turkey is safe to eat and ready to serve.
You’re looking for an internal temperature of 165 degrees Fahrenheit. Push the probe deep into the thigh meat, angling it toward the center of the bird but keeping it away from the bone, which conducts heat differently and can throw off your reading. Check in a couple of spots to be sure.
If the temperature hasn’t reached 165 degrees yet, return the turkey to the oven and check again every 15 to 20 minutes. Don’t rely on cooking time alone, ovens vary, and turkey size affects how heat penetrates the meat.
Sometimes the breast meat finishes before the thighs. If you notice the breast browning too quickly or approaching 165 degrees while the thighs lag behind, tent just the breast area with foil to slow its cooking. This prevents dry breast meat while the darker meat catches up.
Once your turkey hits 165 degrees in the thigh (and ideally the thickest part of the breast as well), it’s done. Getting this right means you’ll have juicy, safe meat and plenty of delicious turkey to use turkey leftovers in meals throughout the week.
After Cooking: Making the Most of Your Turkey
Once your turkey hits 165°F, resist the urge to carve immediately. Let it rest for 20 to 30 minutes, this gives the juices time to redistribute, making each slice more tender and flavourful. While it rests, you can focus on the next steps that help you stop food waste and get full value from your bird.
Carve thoughtfully, separating white and dark meat so you can store them properly. Slice only what you’ll serve right away; leaving meat on the bone keeps it moister for later meals. Once everyone’s eaten, don’t let those leftovers linger. Get turkey into airtight containers and into the fridge within two hours to keep it safe and delicious for up to four days.
The real magic happens when you treat every part of the turkey as an ingredient, not scraps:
- Save the bones and carcass for homemade turkey stock, simmer them with veggie scraps for rich, freezer-ready broth
- Portion leftover meat into meal-sized containers and freeze what you won’t eat in three days
- Use the wing tips, back, and neck for a second batch of soup or stew
- Transform leftovers into turkey pot pie, tacos, sandwiches, or grain bowls instead of reheating the same plate
These small habits turn a single turkey into multiple meals and keep perfectly good food out of the bin. You’ve already invested time cooking it right, now make sure nothing goes to waste.
Common Questions About Turkey Cooking Times and Temperatures
The best way to master turkey roasting is to understand the nuances that can trip up even experienced cooks. Here are answers to the questions we hear most often.
Does stuffing really change the cooking time?
Yes, a stuffed turkey takes significantly longer because the stuffing itself must reach 165°F for safety. You’ll need roughly 30 to 60 minutes of extra cooking time depending on the bird’s size, which is why we always recommend cooking stuffing separately to avoid overcooking the meat.
Why is 165°F the magic number?
That’s the temperature at which harmful bacteria like salmonella are destroyed, making the turkey safe to eat. Cooking below this temperature risks foodborne illness, while going much higher dries out the meat and wastes all your effort.
What should I do if my turkey is browning too fast?
Tent it loosely with aluminum foil to slow down the browning while the interior continues cooking. You can remove the foil during the final 30 to 45 minutes to crisp up the skin once the internal temperature is closer to your target.
Can I trust the pop-up timer that comes with some turkeys?
Not entirely. These timers can be unreliable and often pop at temperatures higher than necessary, leading to overcooked, dry meat. Always verify doneness with your own meat thermometer in the thickest part of the thigh.
Another common question: does it matter if the turkey was fresh or previously frozen? Once fully thawed, a previously frozen turkey cooks at the same rate as a fresh one. The key difference is in preparation time, not oven time. Just make sure any frozen turkey is completely thawed in the refrigerator before cooking, which prevents uneven cooking and potential waste from a partially raw bird.
Key Takeaways for Perfect Turkey Every Time
Here’s what matters most when you’re cooking turkey:
Temperature trumps everything. Your turkey is done when the thickest part of the thigh reaches 165°F, period. No guessing, no relying on pop-up timers, no judging by colour alone. A proper meat thermometer is the difference between a moist, safe turkey and one that’s either risky to eat or so overcooked you’ve wasted hours of effort and a significant grocery expense.
Use time charts as your starting point, not your finish line. Those cooking time ranges, 1½ to 2½ hours for a small unstuffed bird, 3 to 4 hours for an 8 to 12 pounder, help you plan your day and know roughly when to start checking temperature. But ovens vary, turkeys vary, and stuffing adds time. Set your timer for the low end of the range, then start checking early.
Waste prevention starts with technique. When you nail the temperature without overshooting it, you’re not just making better food, you’re honouring the resources that went into raising that bird. Dry, overcooked turkey often ends up in the trash or picked over at the table. Proper cooking means more usable meat, better leftovers, and less of your holiday budget going to waste.
Master these fundamentals and you’ll cook turkey confidently every time, whether it’s Thanksgiving, Christmas, or a random Tuesday in July.
Mastering turkey cooking times and temperatures isn’t just about putting a beautiful bird on the table, it’s about respecting the effort, ingredients, and resources that went into raising that turkey. When you cook it right, reaching that critical 165°F in the thickest part of the thigh, you protect your family’s health and ensure none of the meat goes to waste from overcooking or undercooking. Every perfectly roasted turkey is a small victory against food waste, whether you’re preparing a holiday feast or a Sunday dinner.
The techniques you’ve learned here work year-round, not just for special occasions. As you build confidence with your thermometer and timing, you’ll find yourself wasting less food and enjoying better meals. That’s the heart of what we do at Food Back, helping Canadians make the most of every ingredient while building a more sustainable food system, one kitchen at a time.