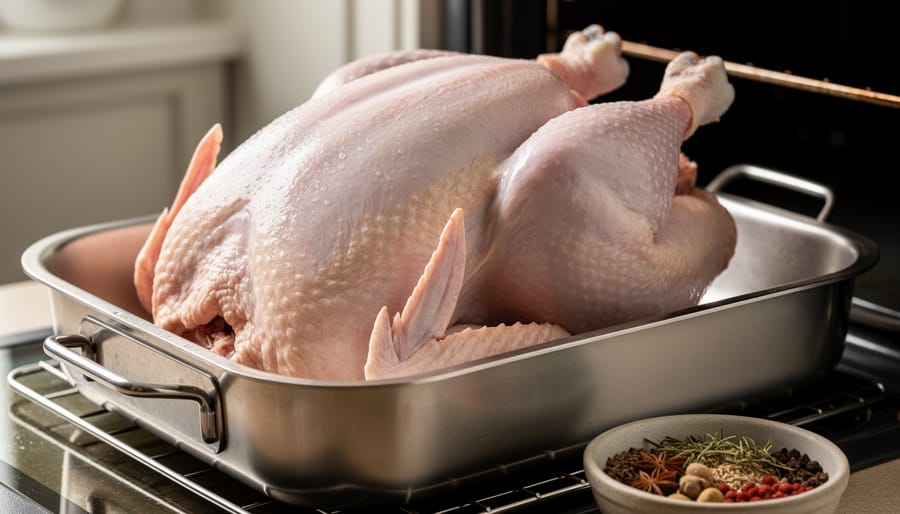
Roasting a whole turkey in the oven takes 2 to 3.5 hours depending on weight, requires an oven set to at least 325°F, and is done when a food thermometer reads 165°F in the thickest part of the breast, innermost part of the wing, and innermost part of the thigh. Getting it right means you’ll enjoy moist, safe meat and plenty of leftovers, but getting it wrong can mean dry, overcooked poultry or food safety risks that send your holiday dinner straight into the compost bin.
For Canadian home cooks looking to reduce waste, mastering the basics of turkey roasting isn’t just about impressing your guests. It’s about making the most of a significant food investment and ensuring every part of that bird gets used, from the first carved slice to the carcass simmered into stock days later. A properly roasted turkey gives you more tender meat, better flavor, and usable leftovers that stretch into sandwiches, soups, and casseroles for a week.
The process itself is straightforward: prepare your bird, roast it at a consistent temperature, monitor doneness with a thermometer in three key spots, and let it rest before carving. No fancy equipment required, just attention to timing and temperature. Whether you’re cooking an 8-pound bird for a small gathering or a 20-pound centerpiece for a crowd, the same principles apply, and the payoff is a sustainable, delicious meal that honors the whole animal.
What You’ll Need to Roast Your Turkey
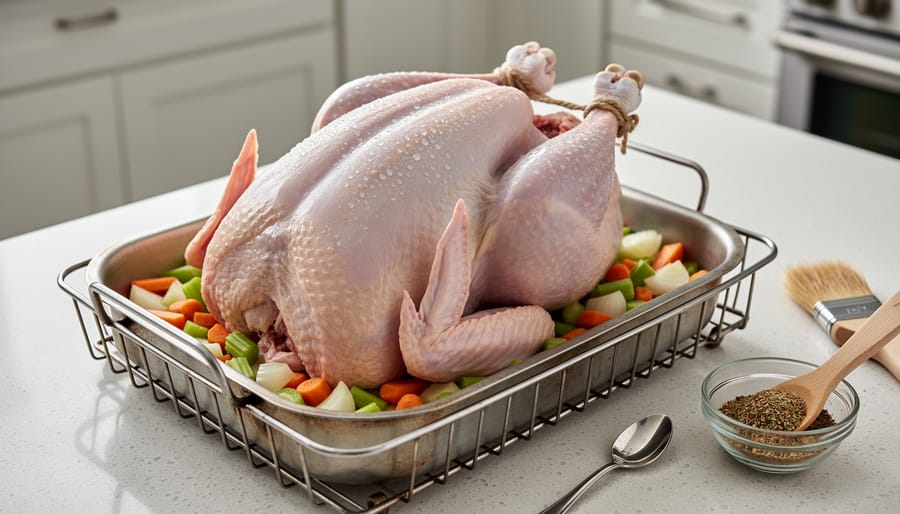
You don’t need a complicated setup to roast a turkey successfully. Having the right tools on hand makes the process smoother and helps you avoid undercooking or overcooking, which means less food waste and more usable leftovers. Here’s what you’ll need:
- Roasting pan with a rack to keep the turkey elevated and allow heat to circulate evenly
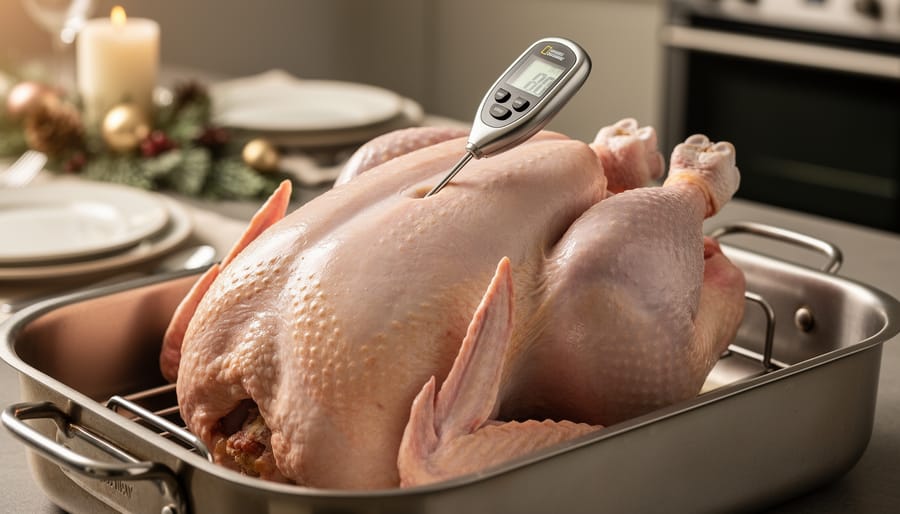
- Meat thermometer for checking internal temperature in the breast, wing, and thigh
- Aluminum foil to tent the turkey if it browns too quickly
- Basting brush or large spoon for optional basting
- Butter or oil for moisture and browning
- Salt, pepper, and herbs such as rosemary, thyme, or sage for seasoning
The meat thermometer is your most important tool. Without it, you’re guessing whether your turkey has reached safe internal temperature, which can lead to undercooking and food safety risks or overcooking and dry, wasted meat. A reliable thermometer takes the guesswork out and ensures you’ll have a bird that’s both safe to eat and worth saving as leftovers. Digital instant-read models are accurate and easy to use, but even a basic dial thermometer works if you calibrate it properly. The small investment pays off in confidence and less food ending up in the trash.
Food Safety First: Temperature Guidelines That Matter
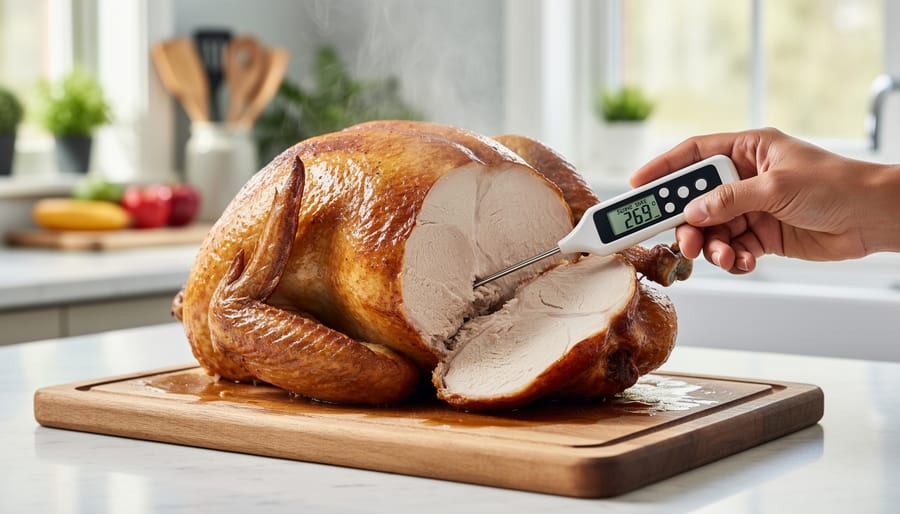
Getting the temperature right isn’t just about cooking a good turkey, it’s the difference between a safe meal you can enjoy for days and food that ends up in the bin. When you understand the critical numbers and where to measure, you protect your family and make the most of your bird.
Start with your oven. Set it no lower than oven at 325°F minimum to ensure even, safe cooking. Anything cooler extends the time your turkey spends in the danger zone where bacteria multiply, raising both safety risks and the chance you’ll need to discard portions.
The magic number for doneness is 165°F. Canadian and U.S. food safety authorities agree: cook poultry to 165°F throughout to kill harmful bacteria like salmonella. But here’s where many cooks go wrong, you can’t just stab the thermometer anywhere and call it done.
Why three spots? Dark meat in the thighs takes longer to cook than white breast meat, and the wings sit in a cooler part of the oven. If you only check the breast, you might pull a turkey that’s dangerously undercooked in the thigh. That’s not just a health hazard, it means you can’t safely store and use those leftovers, turning potential meals into waste.
If you’ve stuffed your turkey, the stuffing absorbs raw juices during cooking and needs extra attention. Once the thigh hits 165°F, slide your thermometer into the very center of the stuffing. It must also reach 165°F before the bird is safe to carve.
Step-by-Step: Roasting Your Turkey to Perfection
Preparing Your Turkey
If your turkey is frozen, thaw it safely in the refrigerator before roasting. Plan ahead, this takes roughly 24 hours for every 2 kg (about 5 pounds) of bird. Health Canada recommends keeping frozen turkeys at fridge temperature (4°C or below) during the entire thaw to prevent bacteria growth. Rushing the thaw at room temperature invites contamination and turns perfectly good meat into wasted food.
Once thawed (or if you bought fresh), remove the giblets and neck from the body cavity and neck cavity. These are often tucked inside paper or plastic wrapping. Save them for stock or gravy if you like, or discard them. Rinse the turkey briefly under cold water, then pat it thoroughly dry inside and out with paper towels. A dry surface helps the skin crisp up and prevents excess moisture from steaming the bird instead of roasting it.
If you plan to stuff your turkey, do it loosely and just before roasting, never in advance. Pack the stuffing gently into the cavity, overstuffing slows heat penetration and raises the risk of undercooking, which can lead to foodborne illness and wasted portions you can’t safely eat. Many Canadian home cooks now bake stuffing separately in a casserole dish; it cooks more evenly, frees up oven space, and eliminates the safety guesswork.
Season the turkey however you prefer, butter or oil rubbed over the skin, salt, pepper, fresh herbs. Proper prep at this stage sets you up for a safe, delicious roast with leftovers you’ll actually want to eat, not toss.
Timing Your Roast by Weight
A good rule of thumb is to plan around 15 to 20 minutes per pound for an unstuffed turkey at 350°F, though the final temperature reading matters more than the clock. For an 8 to 10 pound bird, expect roughly 2 to 2.5 hours if unstuffed or 2 hours 40 minutes to 3.5 hours if stuffed. Larger turkeys take longer: a 14 to 18 pound turkey typically needs 3 to 4.25 hours unstuffed or 3.75 to 4.5 hours stuffed. These estimates give you a starting point to calculate cooking time and plan your day, but every oven and bird is different.
Stuffing adds time because the dense filling in the cavity slows heat transfer, so a stuffed turkey always roasts longer than an unstuffed one of the same weight. Start checking the internal temperature about 30 minutes before the lower end of the range, and remember that your thermometer, not the timer, has the final say on when your turkey is safe to serve.
Monitoring and Adjusting During Roasting
Once your turkey is in the oven, resist the urge to open the door constantly. Each peek drops the oven temperature and extends cooking time. Instead, check the thermometer reading through the oven window if possible, or open the door only briefly every 45 to 60 minutes to monitor progress.
Basting is optional and won’t make your turkey significantly moister, but it can enhance browning. If you choose to baste, work quickly: tilt the pan, scoop up the pan juices with a spoon or bulb baster, drizzle over the breast and legs, then close the oven door. Limit basting to once per hour to minimize heat loss.
If the skin is browning too fast, especially on the breast, tent the turkey loosely with aluminum foil. Press the foil gently over the darkening areas without wrapping tightly, which allows heat to circulate while slowing surface browning. You can remove the foil during the final 30 minutes for a golden finish.
Begin checking the internal temperature about 30 minutes before your estimated finish time. Insert the thermometer into the thickest part of the breast, the innermost part of the wing, and the innermost part of the thigh. When all three areas reach 165°F, your turkey is done and safe to eat.
How to Know Your Turkey Is Done (and Safe to Eat)
The moment you’ve been waiting for: your turkey is golden, your kitchen smells incredible, and you’re ready to carve. But before you grab that knife, you need to confirm your bird is both safe to eat and perfectly cooked. The only reliable method is your meat thermometer. Insert it into the thickest part of the breast, the innermost part of the wing, and the innermost part of the thigh, all three spots must reach a thermometer to 165°F reading. If you’ve stuffed your turkey, check the center of the stuffing too; it also needs to hit 165°F to be safe.
Visual cues can support your thermometer reading, but never replace it. When your turkey is done, the juices should run clear when you pierce the thigh, and the drumsticks should wiggle freely at the joint. The skin will be deep golden brown all over. These signs are helpful, but temperature is the final word, undercooked poultry is a food safety risk, and overcooked turkey dries out, often leading to wasted meat that nobody wants to eat as leftovers.
Once you’ve confirmed the temperature, transfer your turkey to a cutting board and tent it loosely with foil. Let it rest for a full 20 minutes before carving. This resting period allows the juices to redistribute throughout the meat, making every slice moist and flavorful. Skipping this step means juices run out onto the board instead of staying in the meat, leaving you with dry slices and wasted potential. Proper doneness and resting aren’t just about safety, they’re what turn your turkey into quality leftovers that you’ll actually want to eat all week.
Reducing Waste: What to Do with Every Part of Your Turkey
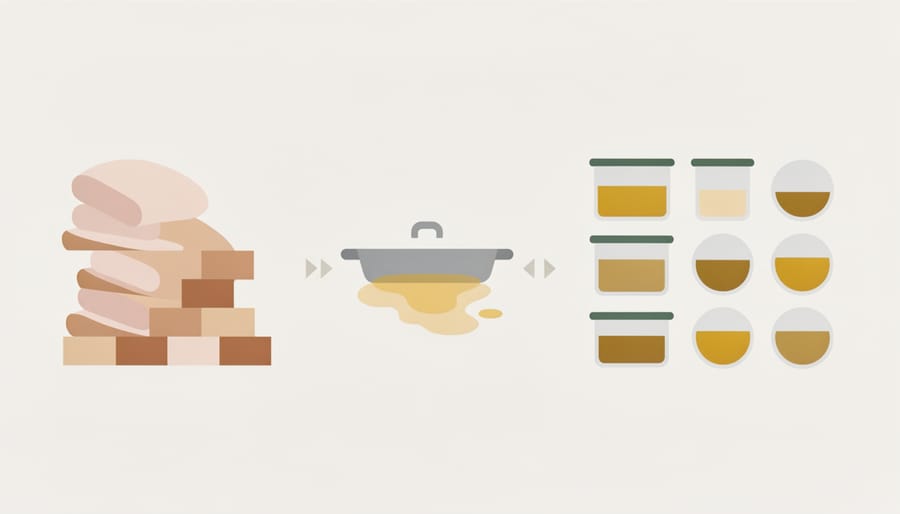
A properly roasted turkey can feed your family now and for days to come, if you know save food from wasting rather than tossing perfectly good leftovers. Canadians discard roughly 2.2 million tonnes of edible food each year, and understanding how food waste harms the planet makes it clear why every scrap matters. Here’s how to stretch your turkey further and keep it out of the bin.
Start with the carcass. Once you’ve carved off the meat, don’t throw away the bones. Freeze them in a large freezer bag and use them later for homemade turkey stock, simmer the bones with onion, carrot, celery, and herbs for a rich base that costs nothing and tastes better than store-bought. The drippings left in your roasting pan make excellent gravy; pour them into a jar, refrigerate overnight, skim the fat if you like, and reheat with a bit of flour or cornstarch to thicken.
Leftover turkey meat stays fresh in the fridge for three to four days when stored in airtight containers. Freeze portions you won’t eat within that window, sliced turkey freezes well for up to three months and works in sandwiches, soups, casseroles, or grain bowls. Even small scraps add protein to fried rice or pasta.
Beyond the meat, you can use food scraps from your meal prep:
- Save vegetable trimmings (onion skins, carrot peels, celery ends) for stock or composting
- Repurpose turkey skin by crisping it in the oven for a crunchy garnish
- Freeze herb stems along with the carcass to boost stock flavor
- Compost anything you can’t eat, keeping organic waste out of landfills where it produces methane
Label and date everything you freeze so nothing gets forgotten. A whole turkey represents a significant investment and environmental footprint, so treating every part with care honors that effort and keeps your kitchen running efficiently long after the roasting pan is clean.
Common Questions About Oven-Roasting Turkey
Roasting a whole turkey raises plenty of questions, especially if you want to avoid mistakes that lead to dry meat or wasted food. Here are answers to the most common concerns, all framed around safety and making the most of your bird.
Do I need to baste my turkey?
Basting is optional and won’t significantly change moisture levels inside the meat. If you choose to baste for flavor or appearance, do it quickly to avoid losing oven heat, which can extend cooking time and risk uneven doneness.
Should I stuff my turkey or cook stuffing separately?
Cooking stuffing outside the bird is safer and faster, reducing the risk of undercooked centers that must reach 165°F. If you do stuff the turkey, check the stuffing’s center with a thermometer after the thigh reaches temperature, and expect longer overall roasting time.
Can I cook a frozen turkey?
You can roast a turkey from frozen, but it will take roughly 50 percent longer to cook and requires careful temperature monitoring in all three test areas. Thawing beforehand gives you more control and helps ensure even cooking.
How long can I keep leftovers?
Store cooked turkey in airtight containers in the refrigerator and use within three to four days, or freeze for up to three months. Proper storage is one of the simplest ways to stop wasting food and stretch your meal investment.
If your turkey is browning too quickly, tent it loosely with aluminum foil to shield the skin while the interior continues cooking. Don’t reduce the oven temperature below 325°F, as slower roasting increases food safety risk and can dry out the meat. Keep your thermometer handy and trust the 165°F reading in the breast, wing, and thigh over visual cues alone, that’s your guarantee of both safety and quality leftovers.
Roasting a turkey in the oven doesn’t have to feel overwhelming. With your oven set to at least 325°F, a reliable meat thermometer checking all three critical spots, and patience to let it rest for 20 minutes after cooking, you’ll turn out a delicious, safe bird every time. The real win goes beyond dinner night: when you save that carcass for stock, transform leftover meat into next week’s meals, and store everything properly, you’re cutting food waste while stretching your grocery budget. That’s the heart of what we do at Food Back, helping Canadians cook smarter, waste less, and build sustainable habits in the kitchen. Your turkey, from first slice to last spoonful of soup, can nourish without waste.