Canadians throw away nearly $1,200 worth of food every year, but you can cut that waste in half by adopting just a handful of smart storage habits, meal planning techniques, and strategic shopping decisions. Saving food isn’t about perfection or complex systems. It’s about understanding how food spoils, organizing your kitchen to keep ingredients visible, and creating simple routines that turn potential waste into meals your family actually eats.
Food waste harms the planet through unnecessary greenhouse gas emissions when produce rots in landfills, but the financial toll hits your wallet first. Every wilted vegetable and forgotten leftover represents money you’ve already spent. The good news? Most household food waste happens for predictable, fixable reasons: overbuying, poor storage, confusion about date labels, and forgetting what’s already in your fridge.
The strategies in this guide work whether you’re feeding a family of five or cooking for one. You’ll learn how to read your fridge properly, store produce to extend its life by days or even weeks, plan flexible meals around what you already have, and transform scraps you’d normally toss into flavorful stocks and meals. Each technique builds on the last, creating a sustainable approach that saves money while reducing your environmental footprint. Start with the areas that feel easiest, and you’ll quickly see results in both your grocery bill and your contribution to a healthier planet.
What You’ll Need to Start Saving Food
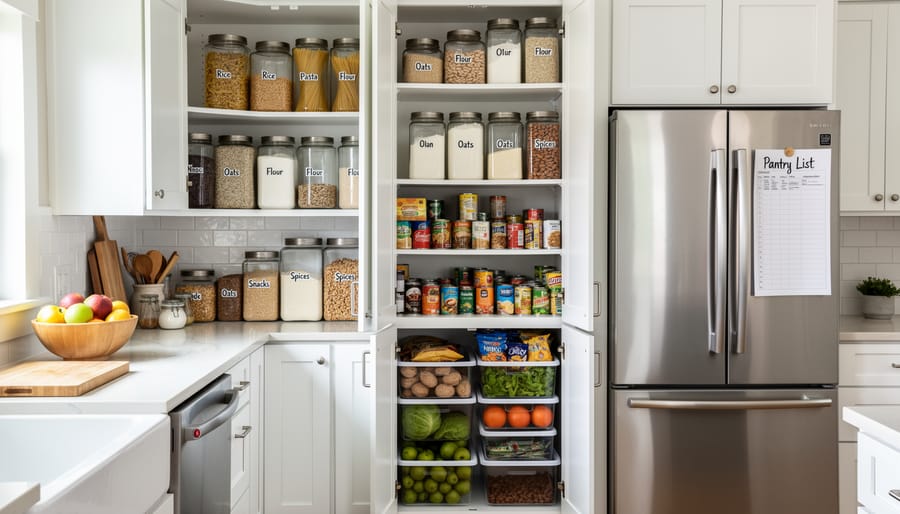
You don’t need fancy equipment to start saving food. Most households already own the basics, and anything you’re missing can be acquired gradually as your food-saving routine develops. The right tools simply make the process easier and more effective.
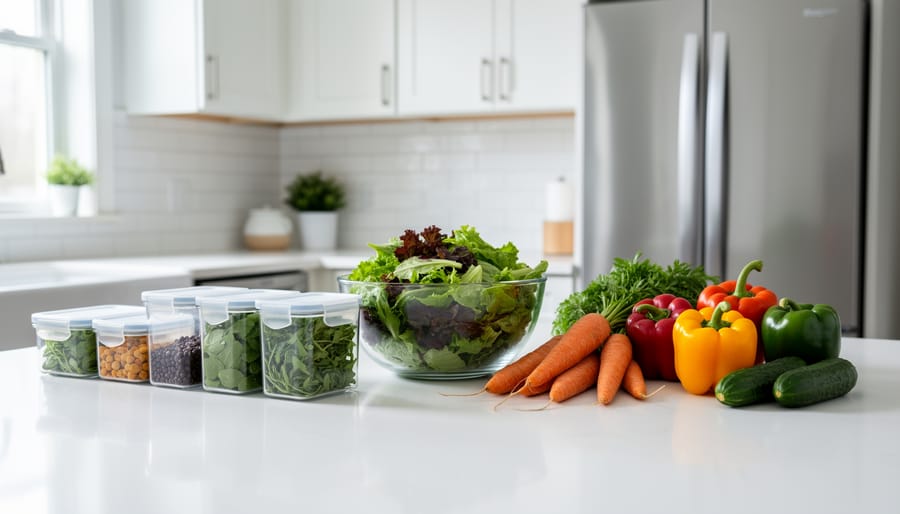
Start with quality storage containers in various sizes. Glass containers with airtight lids work brilliantly for leftovers and prepped ingredients, while stackable plastic containers help maximize fridge and freezer space. You’ll also want reusable silicone bags or beeswax wraps as sustainable alternatives to plastic wrap, along with a good set of freezer bags for long-term storage.
- Airtight glass or plastic containers in multiple sizes
- Reusable silicone bags and beeswax wraps
- Permanent marker or labels for dating stored food
- Measuring cups and spoons for portion control
- Produce storage bags that extend freshness
- Mason jars for dry goods, sauces, and pickled items
- Kitchen thermometer to verify safe storage temperatures
Beyond physical storage, organizational tools make a real difference. A simple notebook or smartphone app for tracking what’s in your fridge prevents those “I forgot we had this” moments. Many Canadians find success with a magnetic whiteboard on the fridge door, listing items that need using soon.
Consider a basic inventory system that works for you, whether that’s a spreadsheet, a notes app, or even sticky notes grouped by expiry timeline. The best system is the one you’ll actually use consistently.
Finally, keep a dedicated spot for recipe inspiration. Bookmark websites or apps that specialize in using up odds and ends, so you’re never stuck wondering what to do with half a cabbage or three lonely carrots.
Important Considerations Before You Begin
Before you start your food-saving journey, know the difference between preventing waste and risking your health. Best-before dates indicate peak quality, not safety, most foods remain safe well past these dates if stored properly. However, expiry dates should not be used beyond what’s printed, particularly on items like infant formula, meal replacements, and certain nutritional supplements where degradation affects safety.
Learning to understand shelf life for different categories helps you make smart decisions about what to keep and what to toss. Trust your senses: if something looks slimy, smells sour when it shouldn’t, or has an unusual texture, discard it. The danger zone for bacterial growth sits between 4°C and 60°C, so refrigerate perishables promptly and reheat leftovers to at least 74°C. Canadian food safety guidelines emphasize that when in doubt, throw it out, the cost of foodborne illness far outweighs the price of discarded food.
Step-by-Step: Your Food-Saving Process
Step 1: Plan and Shop Strategically
The foundation of saving food starts before you even enter the grocery store. Take 15 minutes each week to plan your meals around what’s already in your fridge and pantry. Check expiry dates, note half-used ingredients, and build your menu around those items first.
When creating your shopping list, be specific. Instead of writing “vegetables,” note exactly which ones and how many you need for planned recipes. This precision prevents the broccoli-wilting-in-the-crisper scenario most of us know too well.
Portion sizes matter more than you think. A family of three doesn’t need the same amount as a family of five, yet we often default to “standard” quantities. Calculate realistic serving sizes for your household. If a recipe serves six but you’re cooking for two, either halve the ingredients or plan to freeze portions immediately.
Shop with a full stomach. Research consistently shows hungry shoppers buy 60% more food than they intended, much of it impulse purchases that don’t fit into meal plans. That appealing display of exotic fruits looks great in the moment but often ends up forgotten and rotting.
Resist bulk deals unless you have a concrete plan to use or preserve the quantity. The savings vanish when half the food hits the compost bin.
Step 2: Store Food Properly
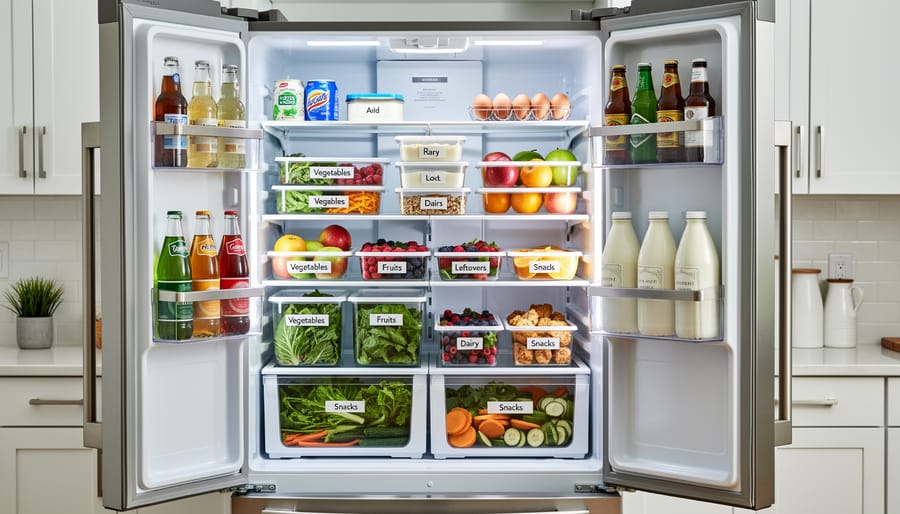
Your fridge’s temperature determines whether your groceries last days or weeks. Set fridge to 4 °C or lower, and use a fridge thermometer to verify it stays there, most built-in displays aren’t accurate.
Store foods according to their needs, not where they’re convenient. Keep raw meat on the bottom shelf in sealed containers so drips can’t contaminate anything below. Place dairy and eggs on interior shelves where temperature stays consistent, never in the door where it fluctuates each time you open it. Reserve crisper drawers for vegetables only; most fruits emit ethylene gas that makes vegetables spoil faster. Store fruits in a separate drawer or on the counter if they’re not cut.
Your pantry works best when you can see everything. Group similar items together, canned goods with canned goods, grains with grains, and face labels forward. Move new purchases to the back so you grab older items first. Keep potatoes and onions in separate, dark, well-ventilated spots; together they spoil each other.
Transfer opened packages into airtight containers. Cereal, flour, rice, and pasta stay fresh longer and you’ll spot when supplies run low. Label containers with contents and the date you opened them. Glass jars let you see what’s inside at a glance, while stackable plastic containers maximize shelf space.
Herbs last longer wrapped in damp paper towel inside a sealed bag. Bread stays fresh at room temperature for a few days but freeze extra loaves immediately, refrigeration makes bread stale.
Step 3: Practice First-In, First-Out Rotation
Organize your fridge and pantry so older items stay visible and accessible. When unpacking groceries, move existing products to the front and place new purchases behind them. This simple restaurant technique prevents food from hiding in the back until it spoils.
Label items with purchase or opening dates using masking tape and a marker, especially dairy, opened condiments, and leftovers. A quick weekly audit helps you spot what needs using soon. Keep a small “use first” zone in your fridge for items approaching their best-before dates.
Group similar items together and maintain consistent storage spots. When everything has a place, you’ll notice gaps and remember what needs replenishing, reducing both waste and duplicate purchases.
Step 4: Repurpose Leftovers and Scraps

Creativity beats waste every time. Before tossing those wilted greens or yesterday’s rice, ask yourself: what else could this become? A stir-fry with leftover chicken and vegetables transforms into fried rice or soup the next day. Roasted vegetables blend into pasta sauce or pizza toppings. Even that half-onion in your crisper can flavour tomorrow’s scrambled eggs.
Vegetable scraps deserve a second life as stock. Collect onion skins, carrot peels, celery ends, and herb stems in a freezer bag. When it’s full, simmer the scraps in water for an hour, strain, and you’ve got free, flavourful broth for soups and grains. Skip anything bitter like cabbage cores or too starchy like potato peels.
Stale bread becomes breadcrumbs, croutons, or bread pudding. Blitz it in a food processor and freeze for coating proteins or topping casseroles. Cut into cubes, toss with oil and seasonings, then bake until crisp.
Overripe bananas work perfectly in smoothies or muffins, freeze them peeled for later. You can save overripe fruit by cooking it into compotes, stirring into yogurt, or blending into sauces. Brown spots mean sweetness, not spoilage.
Meat bones and carcasses make rich stock too. Roast chicken bones especially create flavourful bases for countless meals. Keep a rotation going: leftovers become ingredients, scraps become foundations, and very little hits the bin.
Step 5: Preserve Surplus Food
When you have more fresh produce or leftovers than you can use right away, preservation extends their life by months instead of days. Freezing is your most accessible option, nearly everything freezes well if you prepare it properly. Blanch vegetables for two to three minutes before freezing to preserve colour and texture. Spread berries on a baking sheet to freeze individually before transferring to containers, preventing them from clumping. Label everything with contents and date; frozen foods maintain best quality for three to six months, though they remain safe indefinitely.
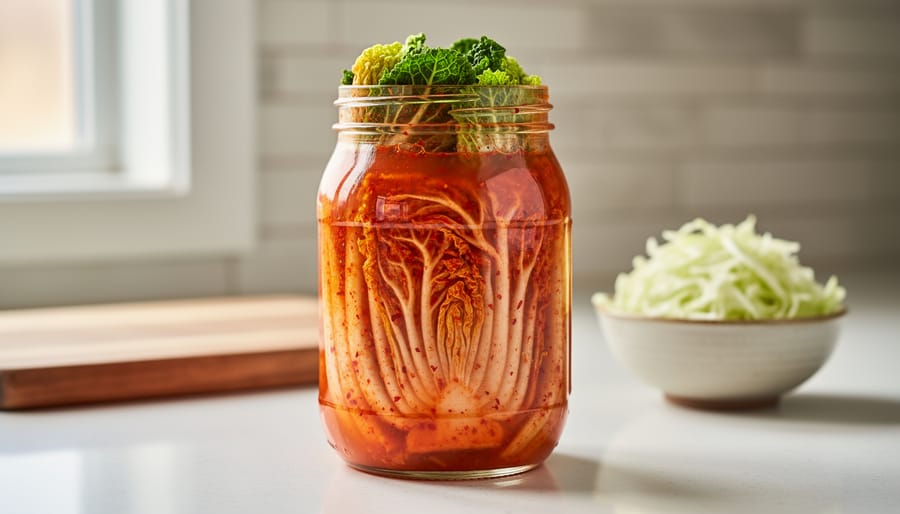
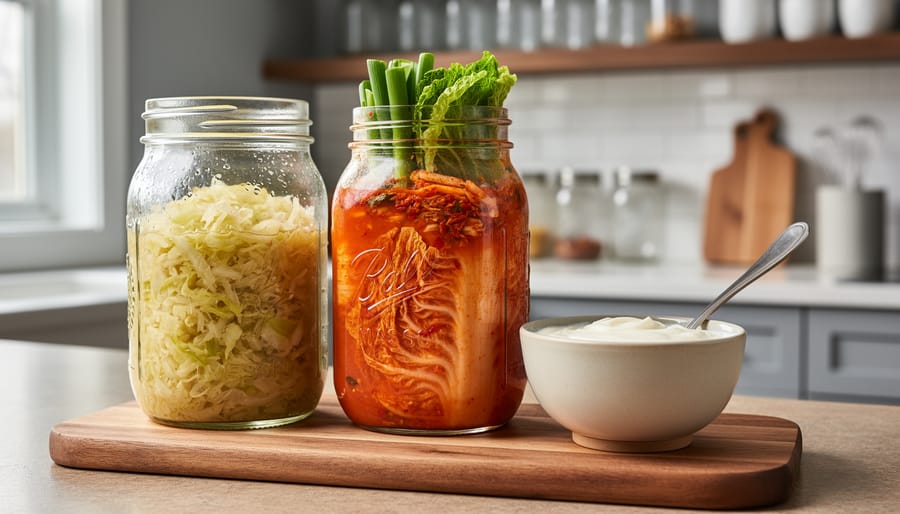
Pickling transforms surplus cucumbers, carrots, onions and even fruits into flavourful condiments. Quick refrigerator pickles require just vinegar, salt, sugar and spices, no special equipment or canning knowledge needed. They last several weeks in your fridge.
Dehydrating works brilliantly for herbs, tomatoes and apple slices. Your oven set to its lowest temperature (around 70°C) does the job if you don’t own a dehydrator. Properly dried foods stored in airtight containers stay good for months.
For canning, start with tested recipes from sources like the USDA Complete Guide to Home Canning. Improper canning risks botulism, so follow directions exactly. Begin with high-acid foods like tomatoes and jams, which are more forgiving than low-acid vegetables that require pressure canning.
Step 6: Compost What You Can’t Save
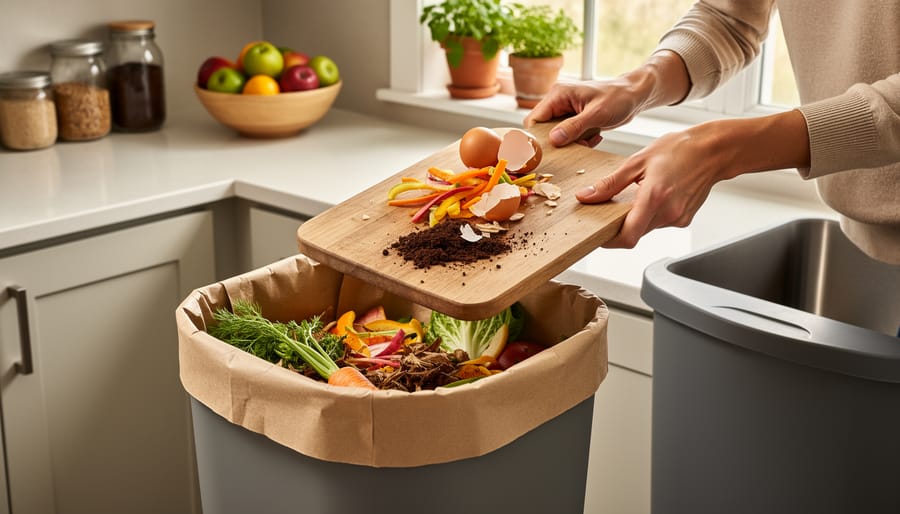
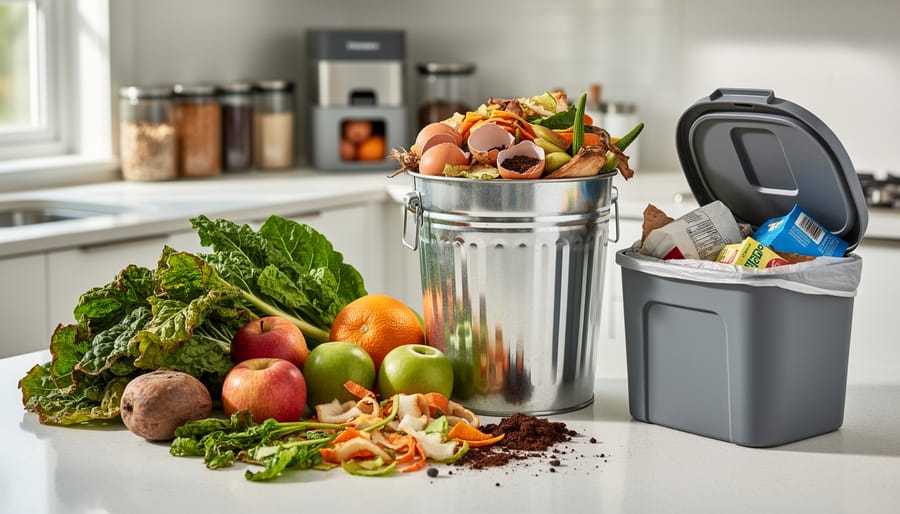
Even with your best efforts, some food scraps, banana peels, eggshells, coffee grounds, won’t make it to your plate. That’s where composting transforms waste into resource. If your municipality offers green bin pickup, use it: most Canadian cities accept fruit and vegetable scraps, coffee filters, and even soiled paper towels. Check your local guidelines, as programs vary on meat, dairy, and bones.
No municipal program? A backyard composter or indoor worm bin handles kitchen scraps year-round. Stick to plant-based materials in home systems, avoid meat, oils, and dairy, which attract pests and slow decomposition. Layer greens like veggie peels with browns like shredded newspaper, keep it damp but not soggy, and turn occasionally. Within months, you’ll have nutrient-rich soil amendment instead of landfill methane.
How to Know Your Food-Saving Efforts Are Working
You’ll notice changes in your kitchen within the first couple of weeks. Start by tracking the volume of food you throw away, many Canadian households find it helpful to keep a simple weekly tally on their phone or a notepad stuck to the fridge. Measure the bags of trash or compost you generate, noting what types of food you’re discarding most often.
Your grocery bill offers concrete proof that your efforts work. Compare receipts from before you started implementing these strategies to your current spending. Most people who consistently apply food-saving techniques see their grocery costs drop by 15-25% within a month or two, without sacrificing meal quality or variety.
Check your fridge and pantry weekly. You’re succeeding when you consistently find minimal spoiled produce, when containers of leftovers actually get eaten, and when items don’t linger forgotten in the back until they’re inedible. Your fridge should feel organized rather than chaotic, with visible space instead of overcrowded shelves hiding forgotten items.
The real indicator? You’ll reduce food waste to the point where taking out the trash becomes less frequent and your compost bin fills more slowly. Once you’ve mastered the basics, deepen your commitment by exploring preservation methods you haven’t tried, connecting with local food-sharing initiatives, or helping friends and family adopt the same practices. Small improvements compound into significant environmental and financial impact over time.
Steps at a Glance
This quick-reference checklist distills your food-saving approach into six essential actions. Use it as a daily or weekly reminder to keep waste low and savings high.
- Plan meals for the week and shop from a specific list to avoid buying food you won’t use.
- Store groceries immediately in the right zones, fridge, freezer, or pantry, using proper containers to extend freshness.
- Rotate your stock so older items move to the front and get eaten first.
- Transform leftovers and scraps into new meals, broths, or snacks rather than tossing them out.
- Freeze, pickle, or dehydrate surplus ingredients before they spoil.
- Compost food scraps that truly can’t be saved, and check expiration dates regularly to catch items before they turn.
Review this list at the start of each week to reinforce habits. Even applying three or four of these steps consistently will cut your household waste significantly and put money back in your budget.
Common Questions About Saving Food
Many Canadians share similar questions when they start focusing on food waste reduction. Here are clear answers to the concerns that come up most often in Canadian kitchens.
How long can I safely store leftovers in the fridge?
Most cooked leftovers stay safe for three to four days when refrigerated at 4°C or below. Label containers with dates so you can track what needs eating first, and reheat leftovers to 74°C before serving.
Is it safe to eat food past its best-before date?
Yes, in most cases. Best-before dates indicate peak quality, not safety, and many foods remain perfectly edible well beyond this date if stored properly. Use your senses, if it looks, smells, and tastes fine, it’s generally safe, though always discard items with visible mold or off odors.
Can I freeze foods in their original packaging?
It depends on the packaging. Vacuum-sealed items and most solid foods can go directly into the freezer, but items in thin plastic wrap or foam trays should be rewrapped in freezer-safe materials to prevent freezer burn and maintain quality.
What should I do with produce that’s starting to soften?
Soft vegetables are perfect for soups, stews, or smoothies where texture doesn’t matter. Overripe fruit works beautifully in baking, sauces, or frozen for later use in smoothies, just cut away any bruised or damaged spots first.
The confusion around expiry versus best-before dates causes unnecessary waste. Remember that expiry dates appear only on specific products like infant formula and meal replacements where safety genuinely depends on freshness. For everything else, you have more flexibility than the date suggests.
Storage location matters more than many people realize. Certain fruits like apples and bananas release ethylene gas that speeds ripening in nearby produce, so keep them separate from ethylene-sensitive vegetables like lettuce and broccoli. Your fridge’s crisper drawers exist for a reason, they maintain higher humidity that keeps leafy greens and herbs fresh longer.
When deciding whether something has gone bad, trust multiple senses. A single indicator isn’t always reliable. Yogurt might develop some liquid on top (just stir it back in), cheese can grow small mold spots that you can cut away, and bread that’s slightly stale becomes perfect for French toast or croutons. However, if something smells genuinely off, shows widespread mold, or has an unusual slimy texture, composting beats the risk.
Saving food isn’t about perfection, it’s about progress. Each meal you plan, each leftover you transform, and each scrap you compost chips away at the massive food waste problem facing Canada. You’ll notice the difference in your grocery bills within weeks, but the environmental impact extends far beyond your kitchen. When millions of Canadian households adopt even one or two of these strategies, we collectively prevent tonnes of methane emissions, conserve water, and reduce the energy wasted in food production.
Start small. Pick the step that feels most manageable for your household right now. Maybe it’s simply storing your produce properly or committing to weekly meal planning. Once that becomes habit, layer in another technique. Your efforts matter, your savings add up, and your example inspires others to take action.